simple website builder

3D Scanning for Reverse Engineering

Using 3D scan data is the most efficient way to generate a 3D CAD model from a physical object that has any kind of complex or freeform shape.

Reverse Engineering

Turnkey Reverse Engineering Solutions

3D Scanning for Reverse Engineering using 3D scan data is the most efficient way to generate a 3D CAD model from a physical object that has any kind of complex or freeform shape. While using traditional measurement techniques such as callipers to reverse engineer these complex surfaces can be difficult or even impossible, 3D laser scanning shines – literally! Scan data can be turned into a model representing its as-built shape or to match original as-designed features – including parametric ones.

3D scanning is not the “easy button” that many think it is. The most critical step in the reverse engineering process is the modelling performed by the applications engineers. Consequently, the reverse engineering process can be quite complex and is very dependent on the skill and expertise of both the engineers doing the work and those managing the project. The better the engineers, the better the results.

If you need to make manufacturing design changes, but don’t have parts data & documentation, Falcon’s on-site or in-lab reverse engineering services can help.
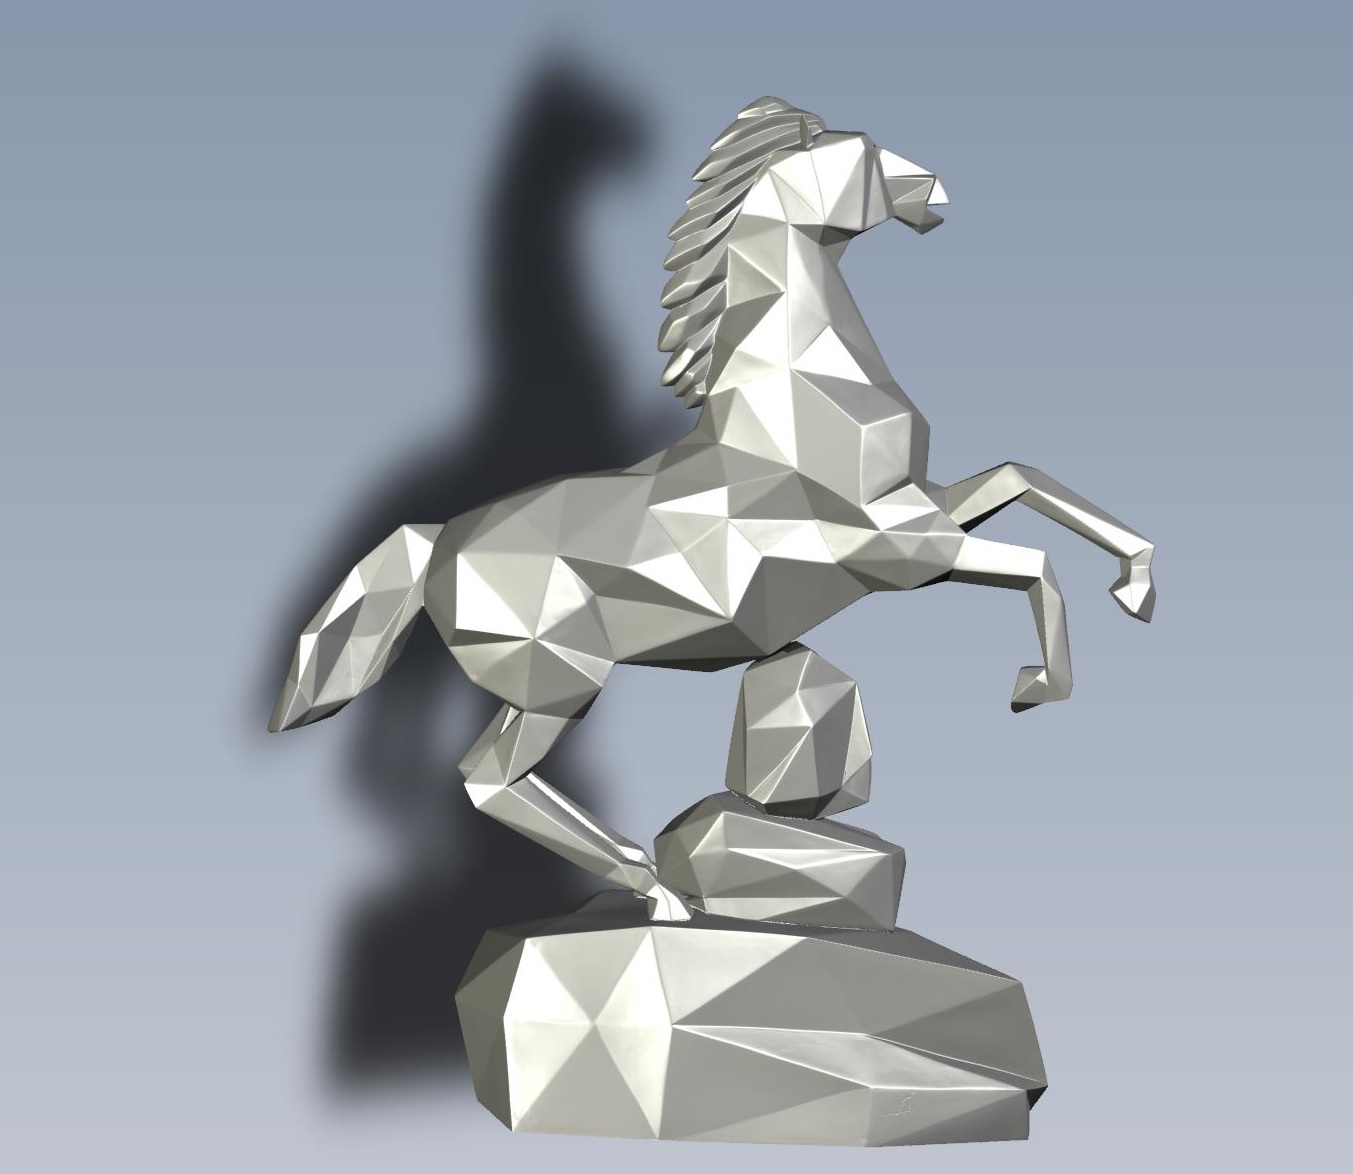
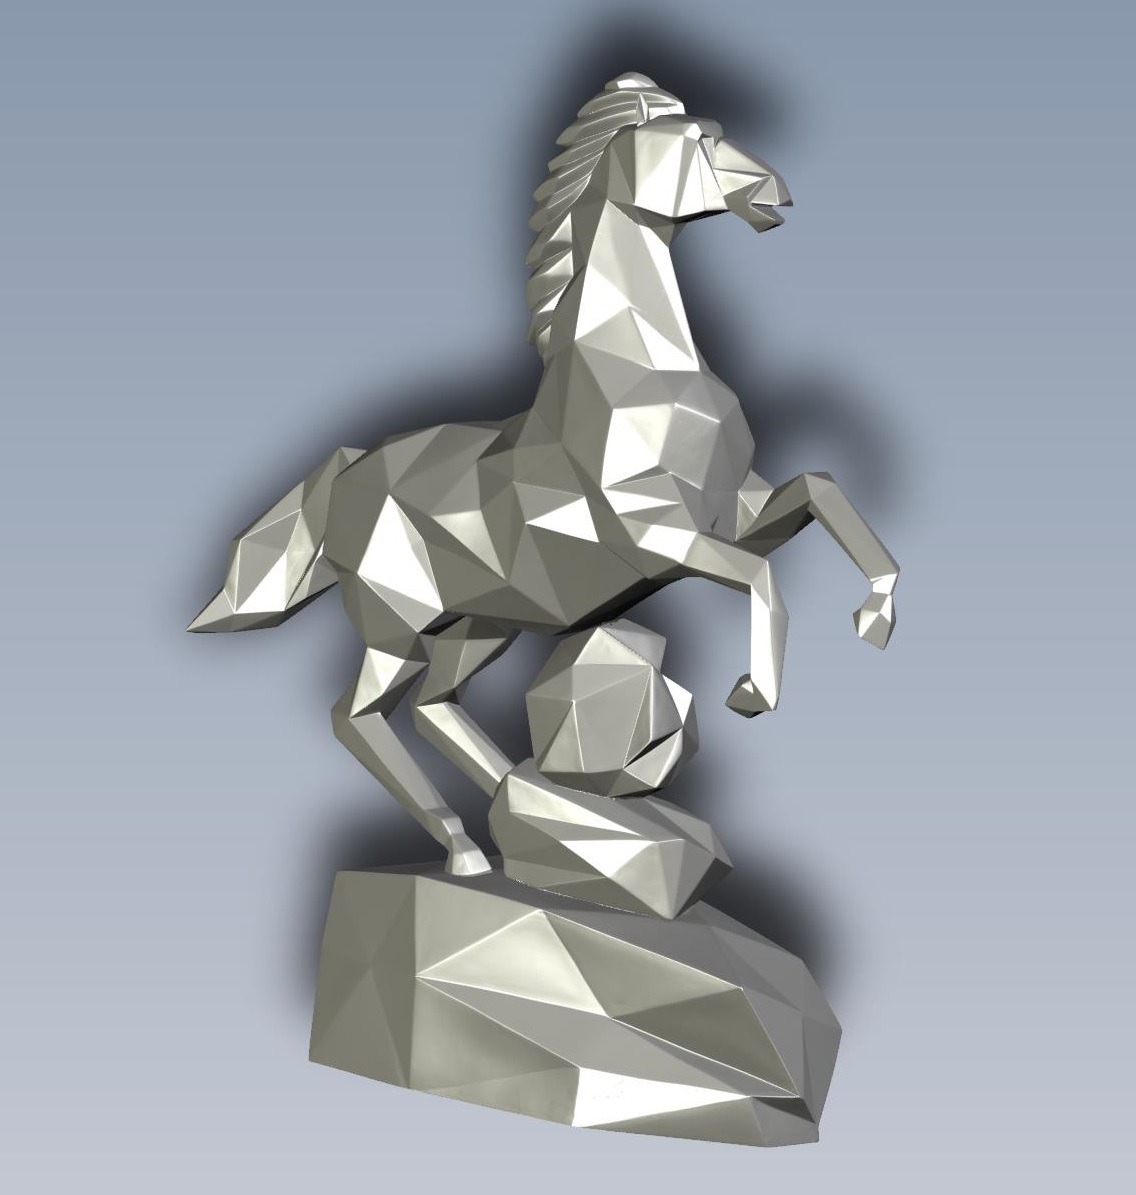
Horse Reverse Engineering

Reverse Engineering Model of a Horse

 Laser Scan Arm 3D Scanner

Scan to Mesh Arm 3D Scanner


Horse Reverse Engineering

Reverse Engineering Model of a Horse

 Laser Scan Arm 3D Scanner

Scan to Mesh Arm 3D Scanner


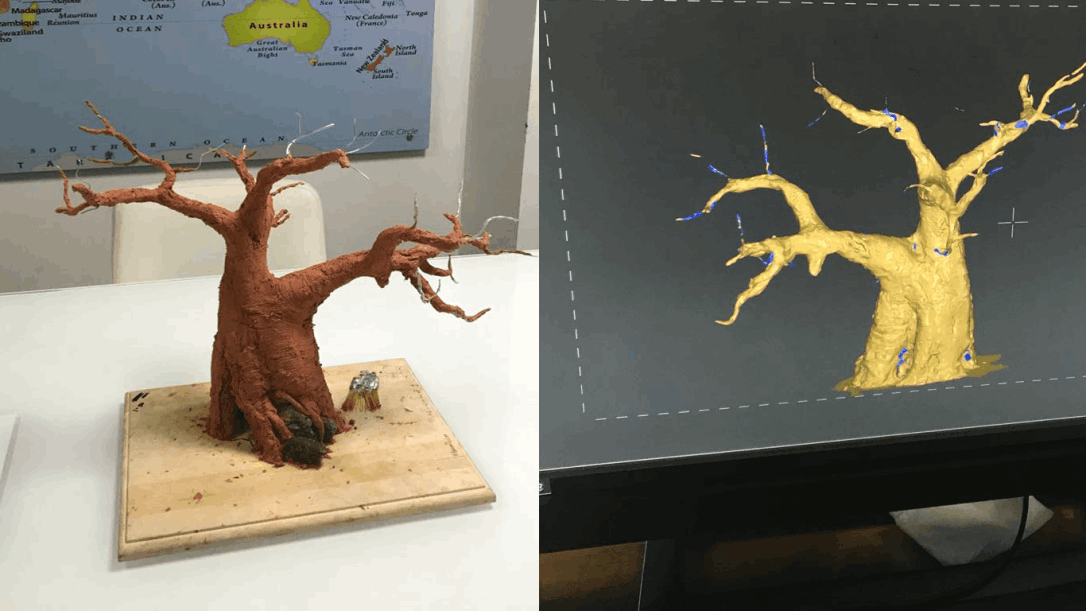
Turnkey Reverse Engineering

Reverse Engineering Model of a Tree

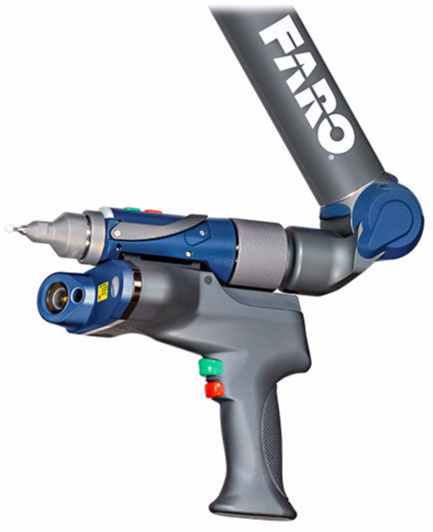
 Laser Scan Arm 3D Scanner

Scan Arm 3D Scanner

This reverse engineering workflow requires the user to scan the object and create the new CAD model simultaneously.

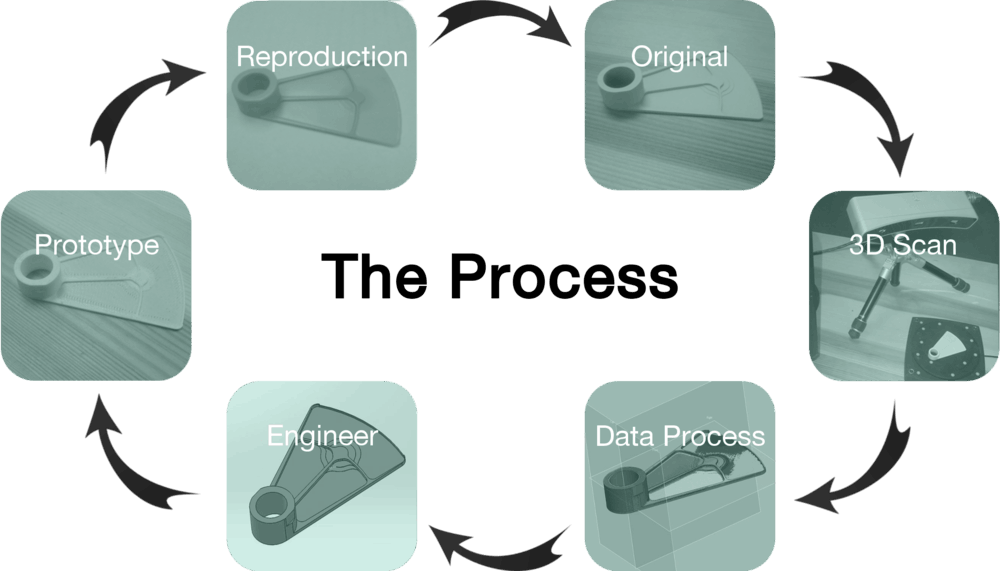
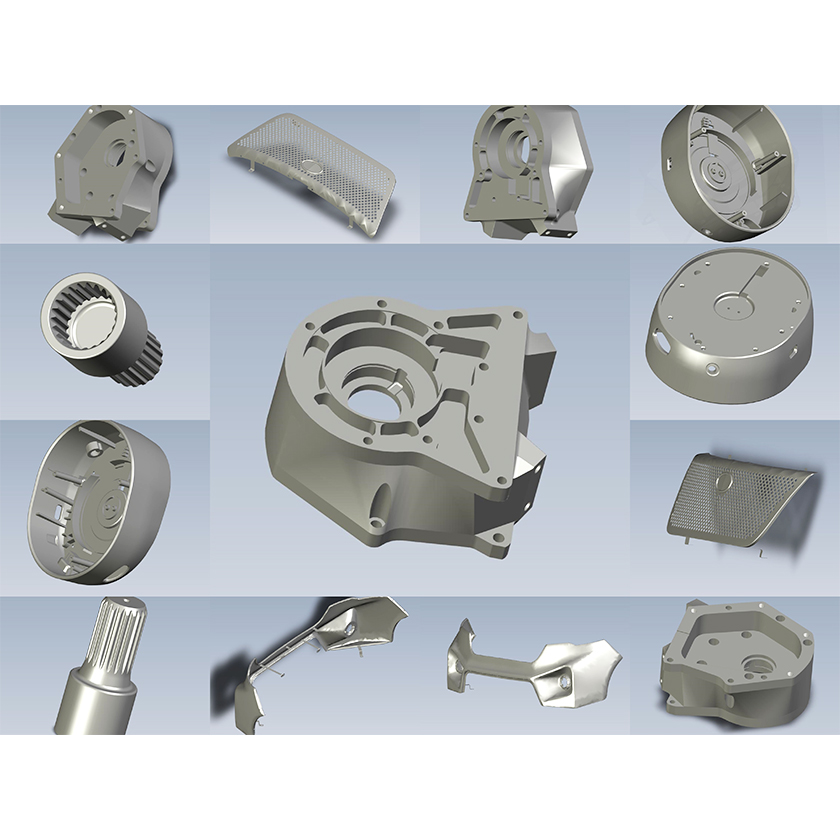
We employ the latest technology for reverse engineering of components for accurate and rapid reproduction. We use FARO Laser Scan Arm 3D Scanner and powerful 3D modeling software to capture complex geometries and free form surfaces. Our 3D scanner scans and digitizes your reverse engineering parts with highest of the accuracies. A fully surfaced 3D CAD model is prepared which can be examined and further modified in case of a broken part. This can be then converted to a 2D drawing if required for manufacture of your reversed engineered component.

We employ the latest technology for reverse engineering of components for accurate and rapid reproduction. We use FARO Laser Scan Arm 3D Scanner and powerful 3D modeling software to capture complex geometries and free form surfaces. Our 3D scanner scans and digitizes your reverse engineering parts with highest of the accuracies. A fully surfaced 3D CAD model is prepared which can be examined and further modified in case of a broken part. This can be then converted to a 2D drawing if required for manufacture of your reversed engineered component.

Why 3D Reverse Engineering ..?

The 3D Reverse Engineering Service involves redesigning the source object with exact dimensional measurement. The professionals we render for providing this sophisticated service are highly qualified and hold experience in designing products. we have in depth knowledge in all manufacturing domains and are able to generate first time right CAD data, thus, reducing further iteration costs. The 3D Reverse Engineering Service we offer is known to be cost effective and highly beneficial, which makes us the first choice for this high end sophisticated service.

Below you can see images of one of Reverse Engineering including the Process

3D Reverse Engineering
1

How it works

By CT scanning a part we capture hundreds of thousands of data points, including features that are hard to measure, and generate a 3D point cloud which we then convert to an STL file with over 2 million triangles. This STL file is then converted to a new CAD file for building a new component.

2

What you will receive

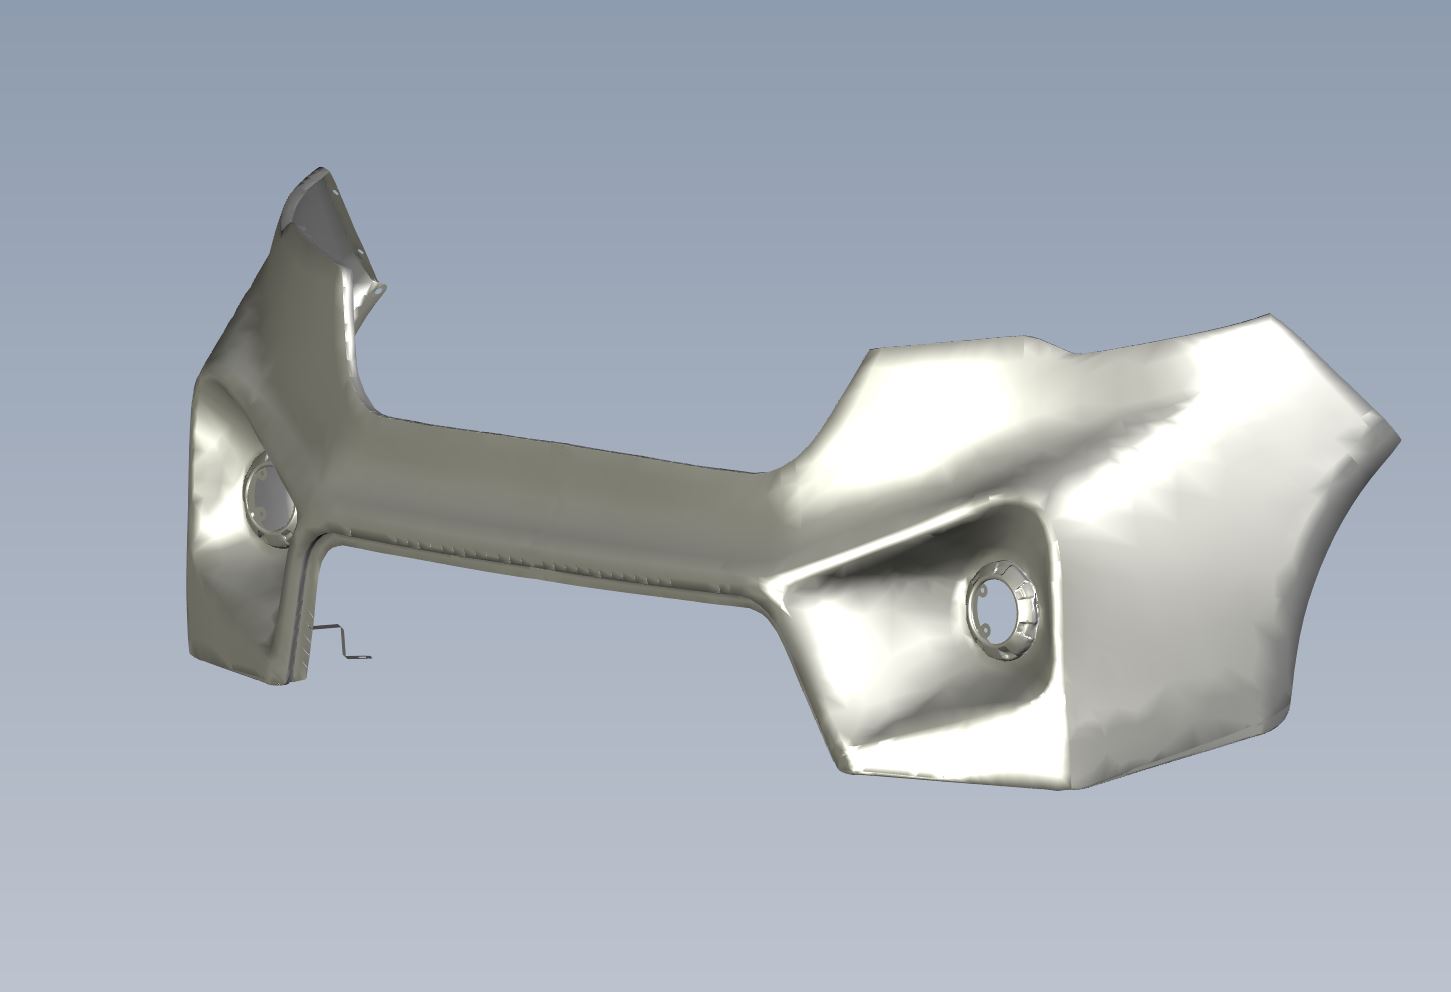
A CAD model in the format of your choice (.STL, .STEP, .IGS, .SLDPRT). New 2D drawings can also be provided.

Our cutting-edge 3D scanning equipment enables us to capture up to two million measurement points for a scanned component, which results in a precision of about 1.5 microns or .00006 inches. Falcon is one of the few companies U.A.E. to own and operate a 3D scanner with high-level precision. We can also bring our 3D scanning system to a customer’s site to produce 3D drawings of parts for which there is no technical data package.

Need to get a Quote.?

Contact us Today immediately